Bulletproof
Back to Bulletproof Install Main Page

Back to Tech Reports Main Page

By, TXJEEPER
Rockcrawler.com
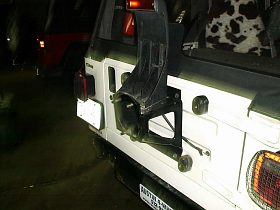
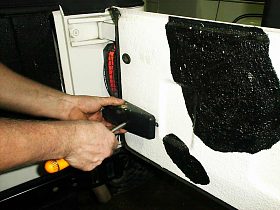
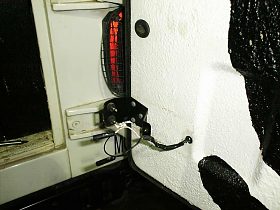
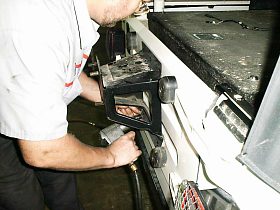
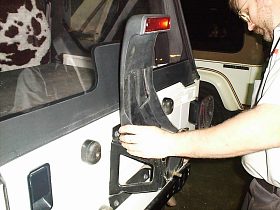
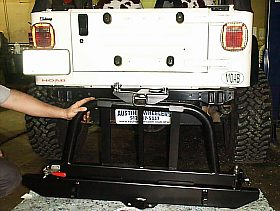
Back to Features Page

Here's the step-by-step install of the Bulletproof Manufacturing rear Force Field bumper with tire-rack.

Bulletproof
Part of what spawned this rear upgrade was the fact that the Project TJ got rear-ended....again and the rear bumper and tail gate were a bit messed up.

Bulletproof
Step 2 Remove the cover for the 3rd light assembly electronics.

Bulletproof
Step 3 Remove your spare tire rack. Yours should not be as bent as mine and maybe you could sell it!

Bulletproof
Step 1Remove the stock 3rd light assembly from the tailgate.

Bulletproof

Bulletproof
Step 4 Get your bumper ready to mount. Stare at it a while. It's really pretty!

Step 5


©1997-2010 ROCKCRAWLER 4x4 and Off-Road Magazine. All Rights Reserved.