| |
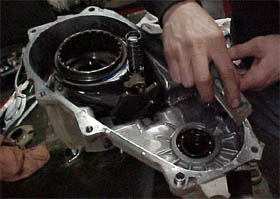 |
STEP
12
Take
a razor blade and strip the old silicone gasket from
the edges of the transfer case housing. Doing this is
a no-brainer so prepare yourself to be bored for approximately
30 minutes.
|
 |
STEP
13
After
you're done cleaning up the housing parts with that
razor, put the synchro-hub assembly on the short shaft,
and put the snap ring back on. Now go ahead and put
the chain and gears back inside the case. They should
slide right in.
|
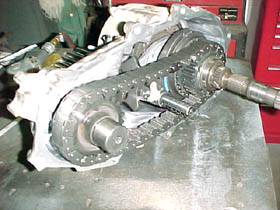 |
STEP
14
The
short shaft is now in place, and so is the chain and
synchro-hub assembly. You're ready to start putting
things back together.
|
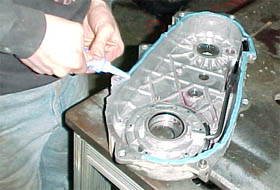 |
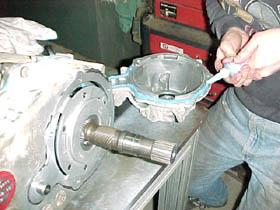
STEP
15
Apply
a constant bead of silicone around the outside edge
of the rear half of the transfer case housing.
|
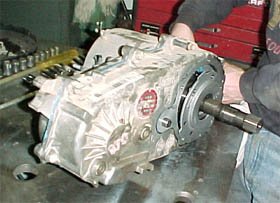 |
STEP
16
Put
the rear transfer case cover back on. It's a close fit.
This shouldn't be too hard, except the flimsy mechanical
pump is difficult to keep in place. Make sure it doesn't
detach from the small plastic hose inside the housing.
Go
ahead and put the bolts in around the perimeter but
not too tight until the gasket solidifies a little.
In about 20 minutes, torque the bolts to 30lbs.
|
 |
STEP
17
Now
it's time to put a bead of silicone around the base
of the regular 231 output bearing housing.
|
| We
install the rear output bearing housing, rear output seal
housing, and output flange on PAGE
7 completing the bench installation. |
|
PAGE
INTRO 1
2 3
4 5
6 7 8
BACK
TO TECH REPORTS MAIN PAGE
|